


Now, before I go on any further I'd just like to say a few things about this job, because this is one of those subjects that some people feel very strongly about. I did debate whether or not to post this up on here so please, don't be too hard on me ok.
- First of all this is the first time I have ever tried to do any kind of repainting on an alloy wheel.
- Secondly, this job is a stop-gap measure only until I can get myself some new wheels, I don't intend this repair to last forever.
- Thirdly, the wheel looks no worse than when I started, yes it's not the original shade of silver but I really don't care because all things considered the overall appearance of the wheel face has improved (as you will see). I didn't respray the back because I'm not bothered too much by that at the moment, the front is more important.
- Fourthly, I fully acknowledge that the method of repair is completely and utterly cowboy in nature, and I apologise to those who are spitting out their cups of coffee in astonishment.
Ok.....
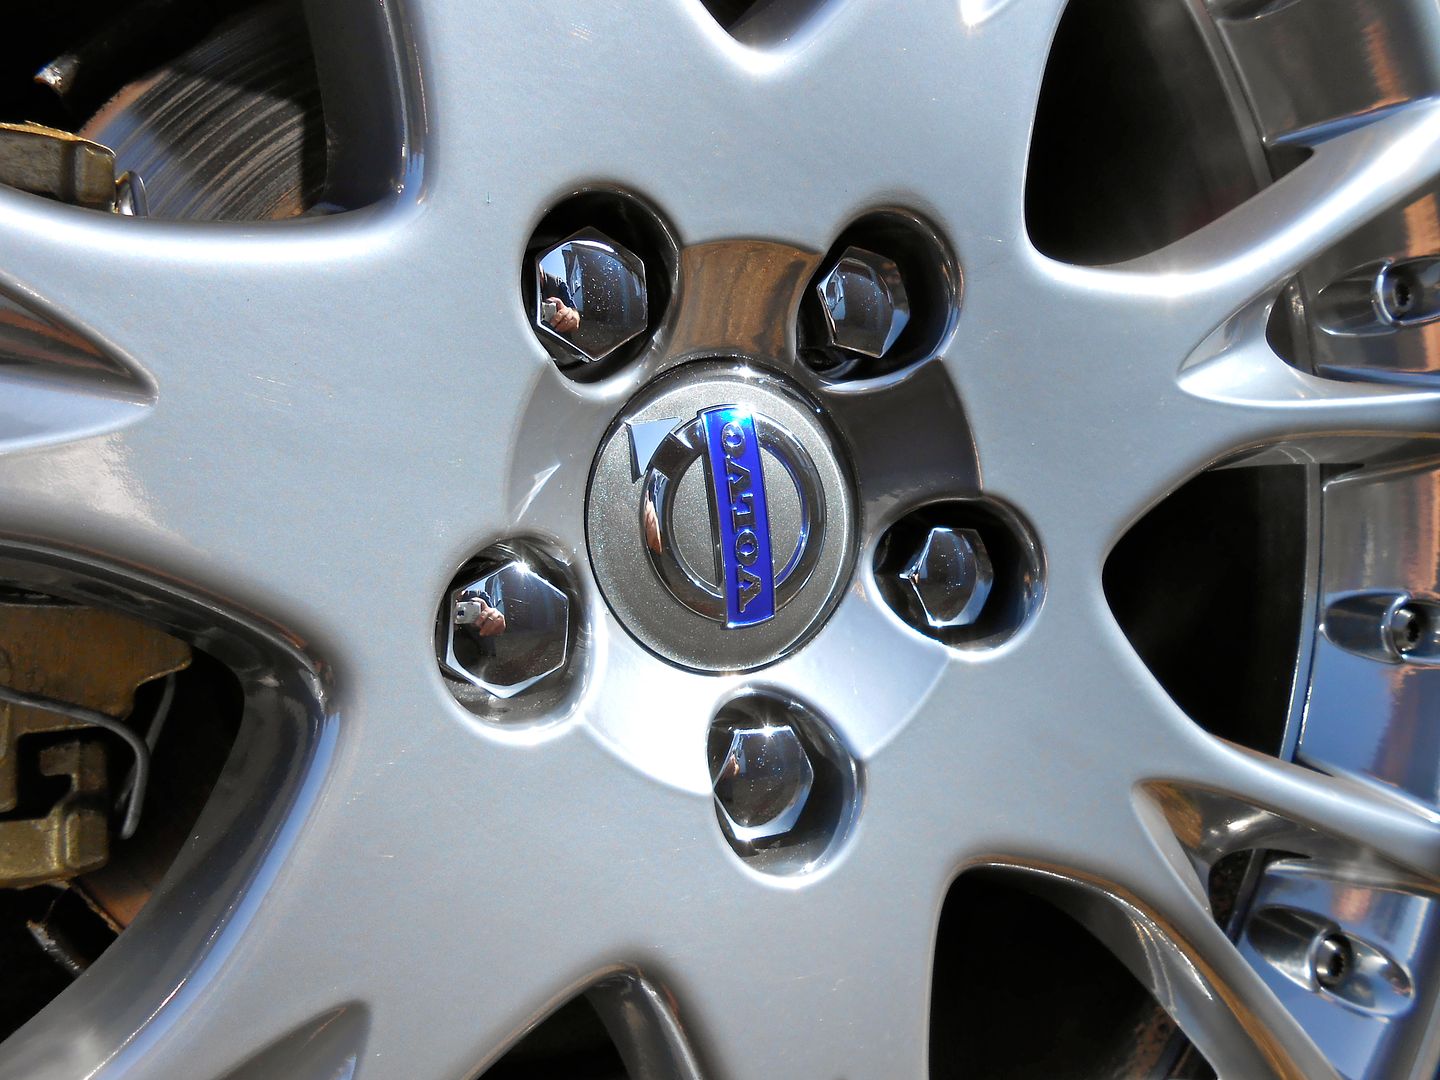
As some of you know, I probably have the scruffiest wheels on VPC, the paint is flaking off them, they're full of stone chips and really do make the car look a complete and utter mess. With this, the other day I decided that enough was enough and I just had to do something, anything I could, and on a tight budget just to make them look a little less of a wreck.
Some before pictures, just to reiterate how shabby the wheels really are and why I am so keen to smarten then up even just a bit (they look worse in the flesh)........
Looking better already - part way through the paint strip stage (no I don't have access to a sand blaster, just very sore fingers)...
After striping the paint I used a professional grade tack cloth to clean the surface, several layers of primer, a few coats of silver base coat (the lightest colour I could find), rubbing down between stages of course and then several layers of clear coat. The finish is ok, there are still some uneven areas but I'm satisfied that the end result is better than how it looked before and for a temporary repair it'll do......
1 down 3 to go, the other 3 should come out a little better (I hope), I learned a few lessons during this first attempt. I'll probably do about 1 wheel per week so the next one will have to wait until next week now when I have some more time off.
Results 1 to 20 of 30
Thread: Alloy Wheel Tidy-up
-
Thursday 17th April 2014, 19:40 #1Banned
 Power of a Sports Car, Turning
Circle of a Bus.
- Join Date
- May 2012
- Location
- Mid Wales
- Posts
- 4,813
- Thanks
- 1,529
Thanked 806 Times in 636 Posts Alloy Wheel Tidy-up
-
Thursday 17th April 2014, 19:53 #2Senior Member
This user has no status
- Join Date
- Feb 2006
- Location
- manchester
- Posts
- 3,188
- Thanks
- 628
Thanked 387 Times in 366 PostsLooks bette r than when u started

-
The Following User Says Thank You to abdul For This Useful Post:
JamesT5 (Thursday 17th April 2014)
-
Thursday 17th April 2014, 19:53 #3Driving Miss Daisy
This user has no status
- Join Date
- Feb 2012
- Location
- West London
- Posts
- 10,942
- Thanks
- 2,909
Thanked 4,171 Times in 2,943 PostsTo be totally honest James I think you've done a good job there, a hundred times better and should last a while even as a 'temporary repair' well done.

The Relentless Pursuit Of Perfection
-
The Following User Says Thank You to V70 Graham For This Useful Post:
JamesT5 (Thursday 17th April 2014)
-
Thursday 17th April 2014, 19:54 #4Swollen Member
This user has no status
- Join Date
- May 2006
- Posts
- 4,759
- Thanks
- 1,487
Thanked 2,408 Times in 1,497 PostsMakes it look 100% better mate....good job.

-
The Following User Says Thank You to stephenevans99 For This Useful Post:
JamesT5 (Thursday 17th April 2014)
-
Thursday 17th April 2014, 19:55 #5Senior Member
5 pot heart of a Volvo
- Join Date
- Apr 2006
- Location
- On the strip
- Posts
- 24,505
- Thanks
- 4,423
Thanked 5,683 Times in 4,419 Postsgood job mate, plenty of alloy laquer on there mate

-
The Following User Says Thank You to T5frankie For This Useful Post:
JamesT5 (Thursday 17th April 2014)
-
Thursday 17th April 2014, 20:00 #6Trader
???
- Join Date
- Sep 2010
- Location
- Harwich Essex
- Posts
- 7,857
- Thanks
- 4,987
Thanked 2,863 Times in 2,155 PostsLook miles better

-
The Following User Says Thank You to merc85 For This Useful Post:
JamesT5 (Thursday 17th April 2014)
-
Thursday 17th April 2014, 20:03 #7Senior Member
This user has no status
- Join Date
- Apr 2012
- Location
- Midlands
- Posts
- 1,049
- Thanks
- 249
Thanked 206 Times in 185 PostsNot bad for a first time quick job.
-
The Following User Says Thank You to BIG G For This Useful Post:
JamesT5 (Thursday 17th April 2014)
-
Thursday 17th April 2014, 20:03 #8Swollen Member
This user has no status
- Join Date
- May 2006
- Posts
- 4,759
- Thanks
- 1,487
Thanked 2,408 Times in 1,497 PostsI reckon they're now screaming for a new set of centre caps....make them look really fresh:
-
The Following User Says Thank You to stephenevans99 For This Useful Post:
JamesT5 (Thursday 17th April 2014)
-
Thursday 17th April 2014, 20:19 #9Whiny Old Git
Aching bones :(
- Join Date
- Aug 2009
- Location
- Shrewsbury
- Posts
- 9,069
- Thanks
- 4,385
Thanked 4,999 Times in 3,015 PostsYou know how I hate to give James any praise for anything
, but that looks like a pretty good job to me.
PIC][/SIGPIC]
aaaaaaaaaaaaaaaaaaaaaaaaa
aaaaaaaaaaaaaaaaaaaaaaaaaaaaaaaaaaaaaaaaaaaaa aaaaaa
Facebook^^^^^^^^^^^^^^^^ Old T-5 Kompressor Thread^^^^^^^^^^^^^^^ New TT-10 Kompressor Thread
-
The Following User Says Thank You to claymore For This Useful Post:
JamesT5 (Thursday 17th April 2014)
-
Thursday 17th April 2014, 20:30 #10Senior Member
Still more fettling needed,
will it never end?
- Join Date
- Jan 2012
- Location
- Tadley
- Posts
- 13,326
- Thanks
- 2,620
Thanked 4,587 Times in 3,404 PostsLooking good mate.
 Just don't take an angle grinder to them.
-
The Following User Says Thank You to stribo For This Useful Post:
JamesT5 (Thursday 17th April 2014)
-
Thursday 17th April 2014, 20:33 #11Senior Member
Keeping it looking stock
- Join Date
- Mar 2012
- Location
- Newton abbot, Devon
- Posts
- 5,567
- Thanks
- 920
Thanked 1,581 Times in 1,296 PostsNice job done ,and the best bit is what it didn't cost you to get it looking so much better.
-
Thursday 17th April 2014, 20:36 #12Banned
Power of a Sports Car, Turning
Circle of a Bus.
- Join Date
- May 2012
- Location
- Mid Wales
- Posts
- 4,813
- Thanks
- 1,529
Thanked 806 Times in 636 PostsThanks for all the positive comments, I wasn't sure how well it would go down. I admit there's a few 'nobbly' bits on it and a few dips I missed but all things considered it's an improvement over the peeling paint, pits and mess that it was before. I'll just be glad to get the other 3 done but I won't rush them, this one wheel has taken me 2 days of intensive work just to get it up like that.
Anyone coming to the Swedish day will hopefully see them in the flesh. I hope the others come out to the same sort of standard, at least they'll look even then.
-
Thursday 17th April 2014, 20:37 #13Banned
Power of a Sports Car, Turning
Circle of a Bus.
- Join Date
- May 2012
- Location
- Mid Wales
- Posts
- 4,813
- Thanks
- 1,529
Thanked 806 Times in 636 PostsWent to Mon and Border in Cwmbran as my colleague at work goes there for all his car refurb stuff, spent about £60 but I'll probably need to top up on some stuff as I got through a little more primer and wet and dry than I expected. Originally Posted by Harvey

Edit: That's £60 for all 4 wheels, not just the one wheel.
-
Friday 18th April 2014, 00:40 #14Senior Member
This user has no status
- Join Date
- Jul 2008
- Location
- belfast
- Posts
- 3,220
- Thanks
- 760
Thanked 927 Times in 768 Poststop job looks a great deal better!
1995 854 t5r
-
The Following User Says Thank You to martybelfastt5 For This Useful Post:
JamesT5 (Friday 18th April 2014)
-
Friday 18th April 2014, 09:36 #15Lawnmower Boy
Now known as WAPAHO!!!
- Join Date
- Nov 2004
- Location
- Guildford, Surrey
- Posts
- 6,707
- Thanks
- 1,058
Thanked 1,733 Times in 1,162 PostsJames I don't know why you doubted all the praise. Job done properly within the limitations of home DIY is going to be praised by most. Any negative comments are purely to help you and others who may attempt the same.
Looks fine to me... Maybe I should post up a how not to do it as I'm plastidipping a set of wheels at the moment with no preparation. So far they look like some primary school kid has been at them!
Current Garage:
1997 960 3.0L 24v - Polestar...(Honest guv..!!)
1997 855 T5 S - stripped to 1300kgs gross weight - 14.2sec qtr(rank 17*)
2001 V40 T4 SE - 14.199@100.15MPH - Hybrid Turbo/VXR injectors and DeCat(Rank 15*)
*Data Sept 2013
Any Stuff For Sale - check out my Ebay link
-
The Following User Says Thank You to JUDGENINJA For This Useful Post:
JamesT5 (Friday 18th April 2014)
-
Friday 18th April 2014, 09:53 #16Senior Member
228k and still not broke it!
- Join Date
- Jul 2011
- Location
- Poole, Dorset
- Posts
- 23,213
- Thanks
- 6,548
Thanked 7,752 Times in 5,648 PostsTaking into account the fact that you've not had a go at refurbs before, you've done a fantastic job there mate.
I would however, suggest having a can of filler primer to hand as a middle coat. It helps hide dings and imperfections and costs no more than normal primer.
Looking forward to seeing the other 3 wheels finished mate.19t, greens, 3" inlet, 3" downpipe with race cat, V70R catback, autotech map...
310.2bhp / 333ft/lb
2016 Swedish Day UK "Best Modified Swede"
SOLD
Got an old discovery now.
-
The Following User Says Thank You to M-R-P For This Useful Post:
JamesT5 (Friday 18th April 2014)
-
Friday 18th April 2014, 10:55 #17Senior Member
This user has no status
- Join Date
- Jul 2008
- Posts
- 6,300
- Thanks
- 2,869
Thanked 2,643 Times in 1,928 PostsHave to say looks like a good job, if I was starting out and that was the result of my first attempt I'd be more than happy with the outcome, can only get better with experience
-
The Following User Says Thank You to AndysR For This Useful Post:
JamesT5 (Friday 18th April 2014)
-
Friday 18th April 2014, 11:34 #18Senior Member
This user has no status
- Join Date
- Jul 2008
- Posts
- 1,820
- Thanks
- 154
Thanked 313 Times in 273 PostsLooks a hundred times better than when you first started.
Did you tape up the tyres or use soap to stop making them silver as well or just used black paint ?
-
The Following User Says Thank You to Jimmie For This Useful Post:
JamesT5 (Friday 18th April 2014)
-
Friday 18th April 2014, 11:48 #19Trader
This user has no status
- Join Date
- Nov 2010
- Location
- chester le street
- Posts
- 6,128
- Thanks
- 969
Thanked 1,398 Times in 1,121 Poststhis is my prefered primmer for when refurbing alloys. etch primmer is a must for the first coat. this primmer is also a filler primmer so you get the best of both worlds
http://www.ebay.co.uk/itm/MIPA-Etch-...item4d1bb6ee93s60 2.4 t5 eibach springs,up rated rear anti roll bar, poly bushed wishbones, poly lower engine mount, fmic, bmc air filter, 3" decat, 2.5" stainless exhaust,hlm remap 328bhp,
-
Friday 18th April 2014, 12:55 #20Banned
Power of a Sports Car, Turning
Circle of a Bus.
- Join Date
- May 2012
- Location
- Mid Wales
- Posts
- 4,813
- Thanks
- 1,529
Thanked 806 Times in 636 PostsI did actually use a filler primer mate, I should have mentioned it. I used some Car Plan "Hi Build Primer", I think that's basically what you're on about, right? Originally Posted by M-R-P


 Reply With Quote
 1995 Volvo 850 T5R
 1998 Volvo V70 T5 SE

 2004 Volvo S60 D5 SE
 The Evil twin
 Roundy


 1996 Volvo 850 T5


 2005 Volvo S60r
 2005 Volvo V70R


 "THE BIG SWEED"
Thread Information
Users Browsing this Thread
There are currently 1 users browsing this thread. (0 members and 1 guests)
 Posting Permissions

Bookmarks