For a few months I've been having problems with my N/S headlight dip beam. It's been flickering,
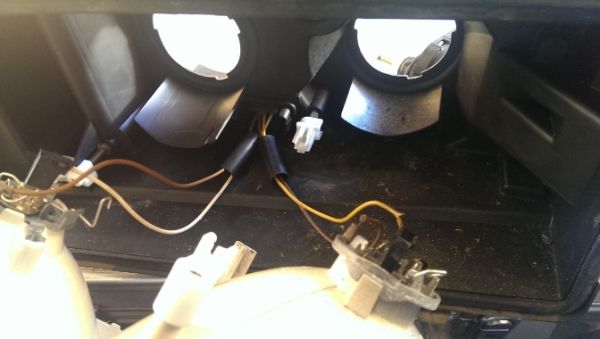
sometimes not coming on for a few minutes after headlights turned on. I went to replace the bulb
and found the insulation on the wiring inside the headlights had split with age and heat:-
So my only option was to rewire them, well as I'm a bit of a dab hand with the soldering iron
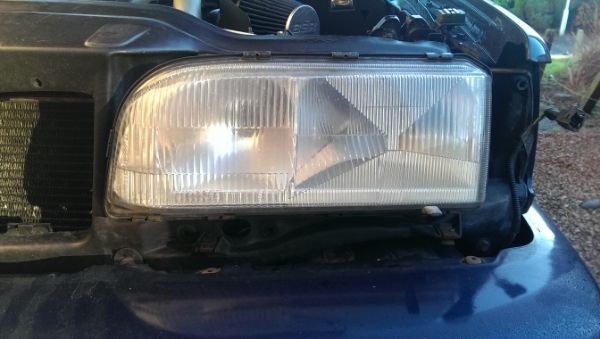
First step, remove the trim from below the headlight, then unclip the indicator.
Unclip the connectors for the headlight leveling motor and the connector for the headlight power,
then the three 10mm bolts holding the headlight too the car.
Remove the headlight from the car and put it on the workbench.
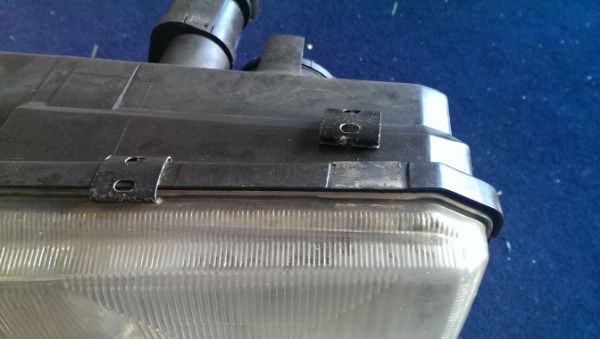
Use a large flat head screwdriver to release the clips holding the glass in place. I cleaned the inside of
the glass with Auto Glym Glass Cleaner as it was kinda filthy looking.
Pull the glass free from the headlight. The tricky part is releasing the reflector from the body of the headlight,
the leveling motor is a twist to release, then unclip the motors ball joint on the rear of the reflector.
The reflector is held in place by two other clips, these are released with a screwdriver and a bit of
brute force.
DO NOT be tempted to clean the reflector as the material is very thin and easily damaged by cleaning
agents.
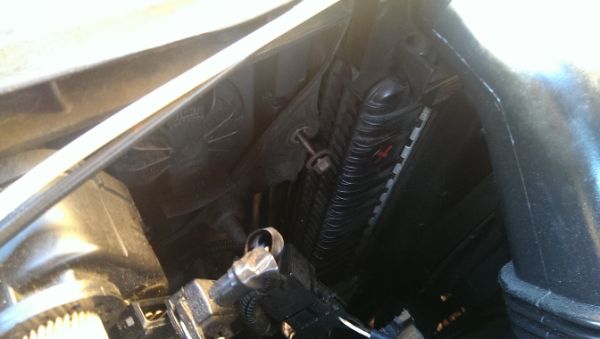
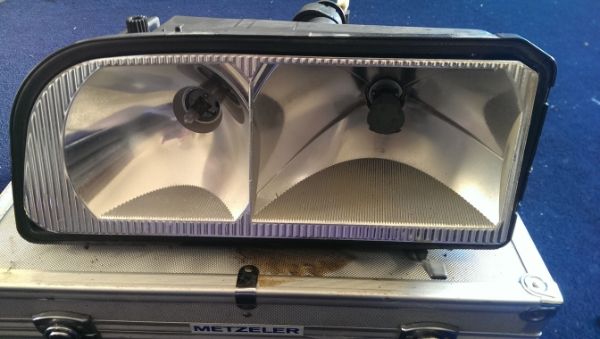
You'll now be left with this.....
Pull the 4 wires off the bulbs. This will release the reflector, place it safely to one side.
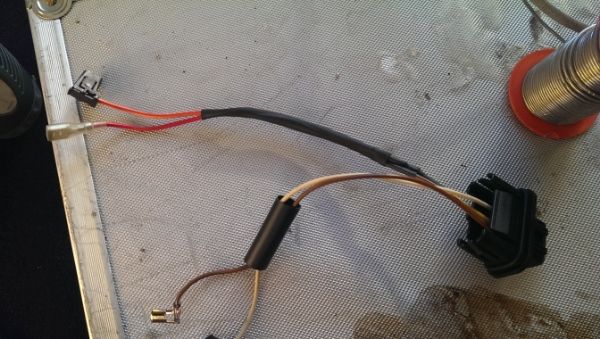
I decided to remove the wiring loom from the headlight to make it easier to work on.
The power connector is held in by clips, use a screwdriver to relase them and remove the loom
through the rear of the headlight body.
I cut the wires close to the connector body, and soldered on new lengths of wires. Use heatshrink
sleeving to cover the solder joints.
New blade terminals will be needed so the new wires can be connected to the bulbs and the
reflector body.
Refitting as the Hayne's Manuals aways say is the reverse of removal.
Once the headlight is refitted to the car, the aim of the headlight will need to be checked.
Results 1 to 3 of 3
Thread: Rewire 850 Series Headlights
-
Tuesday 14th January 2014, 18:22 #1Senior Member
 This user has no status
- Join Date
- Jul 2008
- Location
- Fife
- Posts
- 185
- Thanks
- 28
Thanked 33 Times in 25 PostsRewire 850 Series Headlights
-
Tuesday 14th January 2014, 19:15 #2Senior Member
 This user has no status
- Join Date
- Jul 2008
- Posts
- 1,820
- Thanks
- 154
Thanked 313 Times in 273 PostsGregg it's nice to see the old girl is still with you.
Have any updated photos if you have post them up.
-
Tuesday 14th January 2014, 19:59 #3Senior Member
 This user has no status
- Join Date
- Jul 2008
- Location
- Fife
- Posts
- 185
- Thanks
- 28
Thanked 33 Times in 25 PostsCheers Jimmy, she's still going strong. Will get some pics up at some point.
Thread Information
Users Browsing this Thread
There are currently 1 users browsing this thread. (0 members and 1 guests)


 GIX
GIX HEV
HEV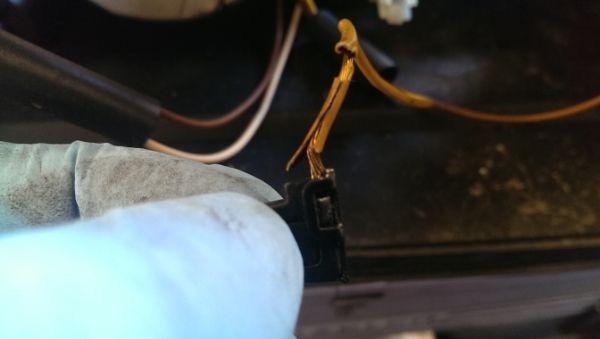


 Reply With Quote

Bookmarks